
Ugh… the dreaded B.S.O.D. (Blue Screen Of Death). Often times this quick fix will help with B.S.O.D. issues. Restore points are part of Windows 10 system protection that can let you “roll-back” to a point of safety… but, you need to turn it on first! Restore points, if enabled, are created by Windows automatically when critical events are about to happen… such as an update.
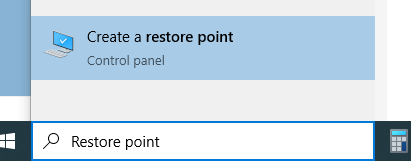
Search for Restore Point and select Create a restore point
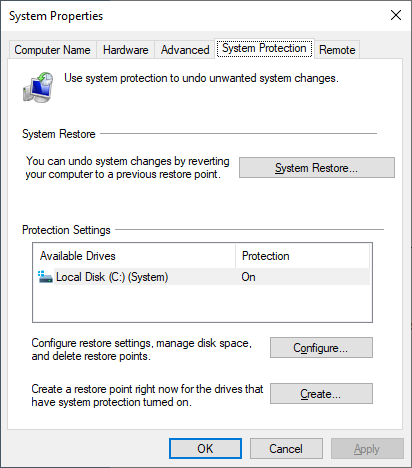
Click the Configuration button and make sure that system protection is turn on. You also want to make sure that you have at least 300MB allocated for disk space usage. Disk Space Usage is the amount of space used for restore points. Most modern computers can afford 10% which will allow you to have many restore points – in case you need to go back further in time. Clicking the OK button sets everything in motion… Windows takes care of the rest! A restore point only contains critical Windows system files. Restoring only replaces those system files previously saved… System Restore isn’t like a time machine where everything is rolled back to a previous point. You won’t lose any email, documents, pictures, etc.

Rolling back…
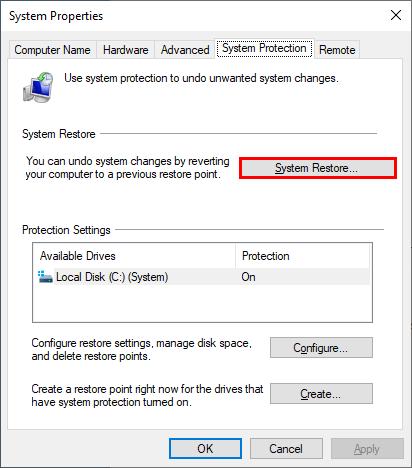
If you need to go back to a restore point simply search for Restore Point and select Create a restore point again (as you did in the very first step). But this time click the System Restore button.
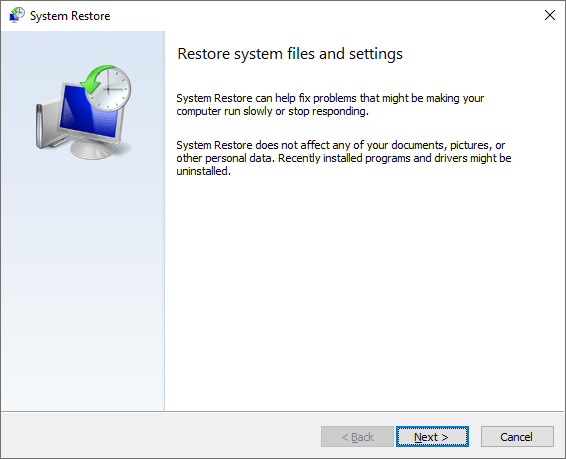
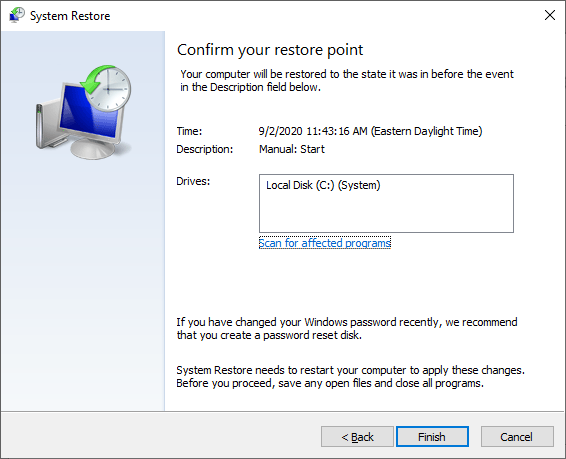
Simply click Next, select a restore point and finally click Finish to begin the process. It might be a good idea to click the Scan for affected programs when selecting a restore point to see what programs, if any, will be affected. The further back you go the more likely the restore will affect programs.

Enabling Restore Points is a good practice and can come in handy if something goes wrong with a Windows update or something.